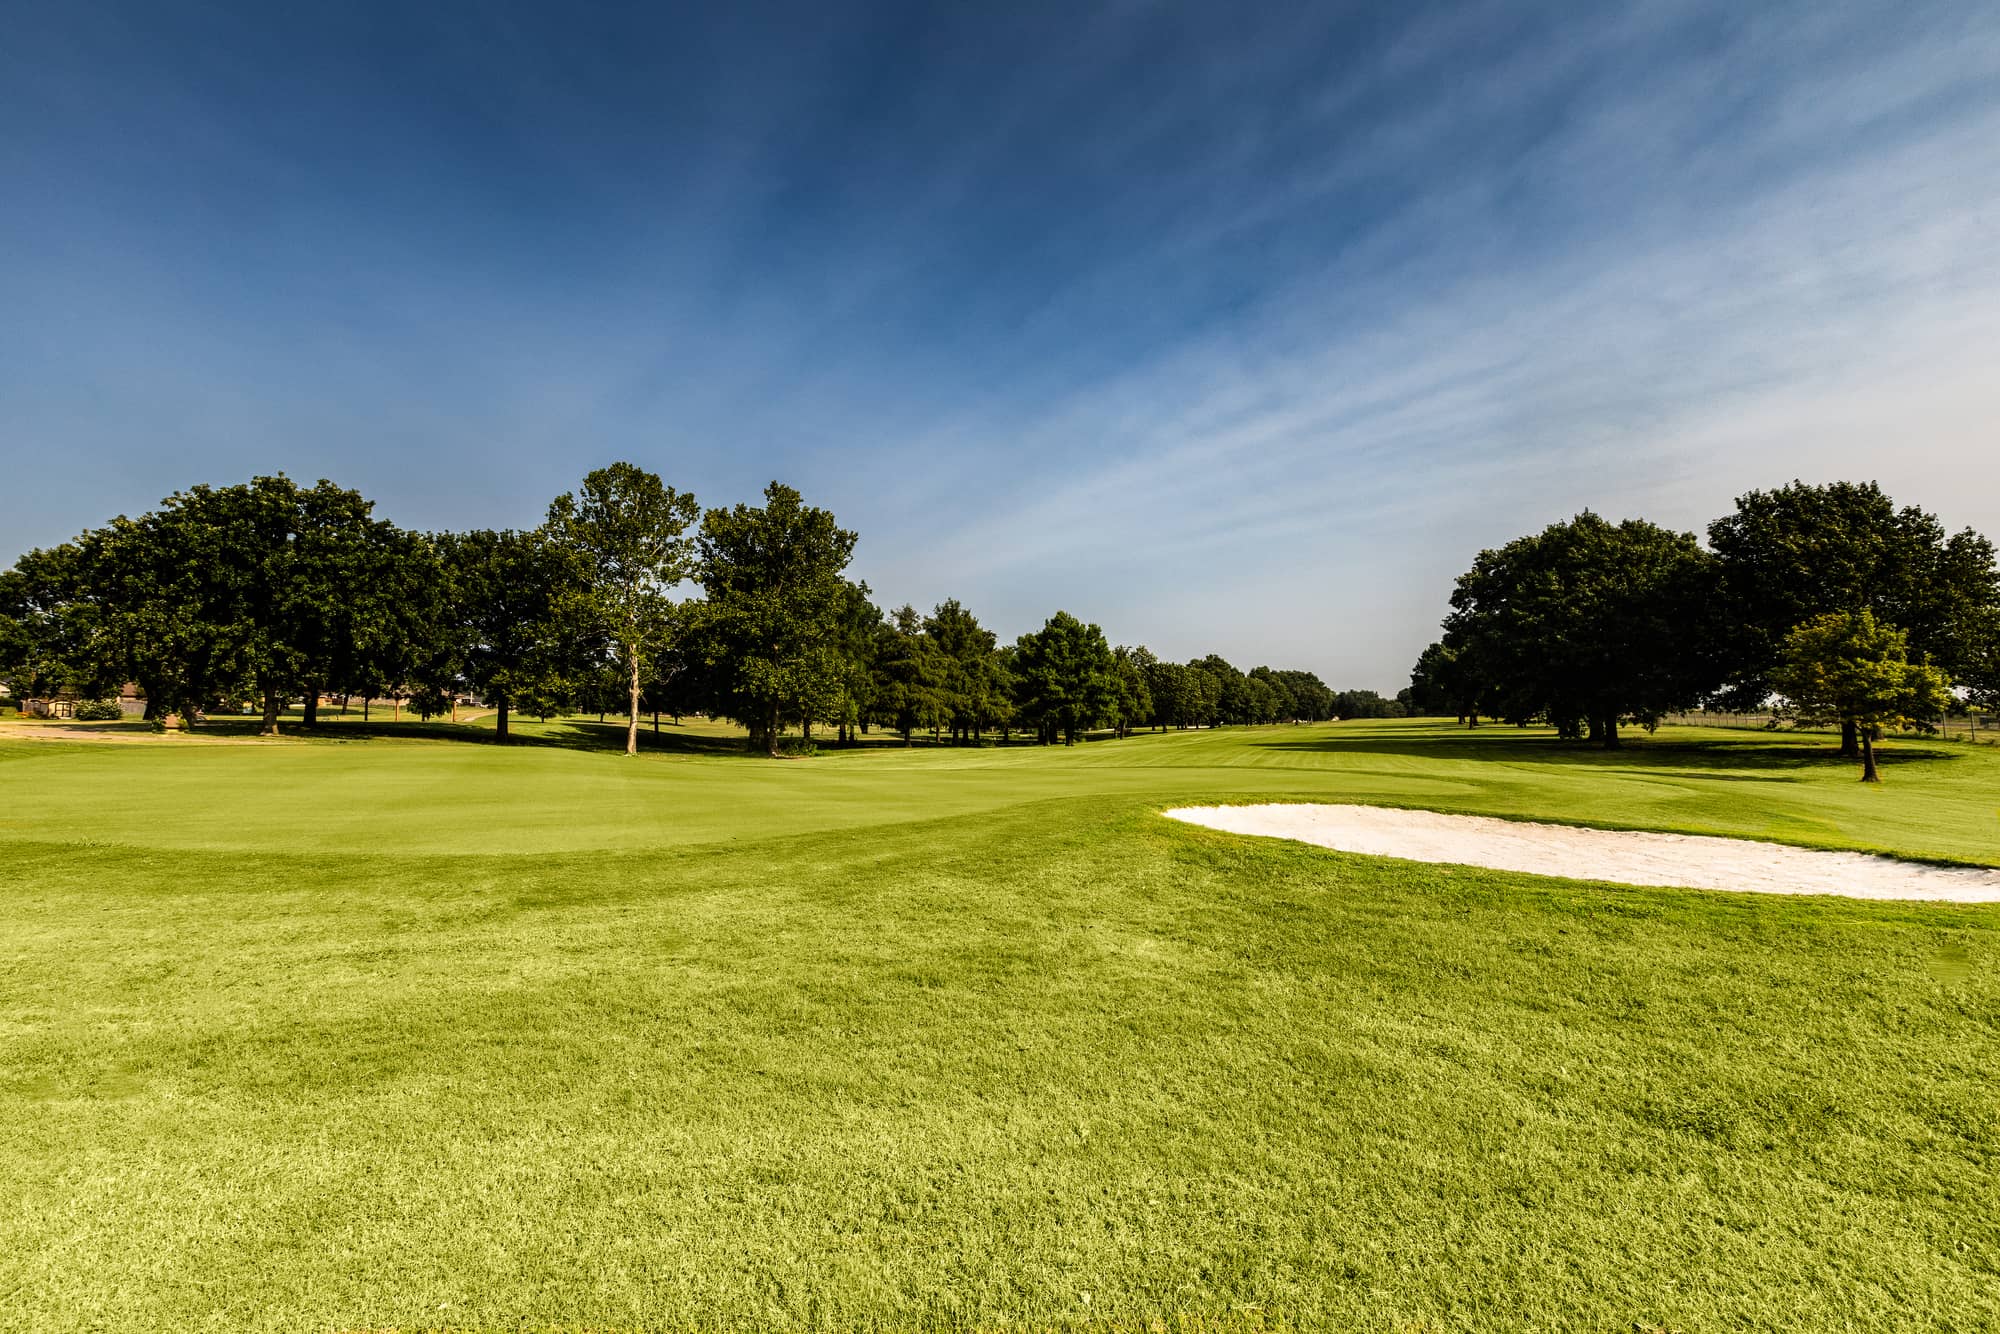
Boots Hollow Golf Club is an 18 hole Championship Golf Course that was established in 1963. It measures 6,748 from the Championship Tees and offers a challenging layout for the most elite ball strikers. The course meanders through the beautiful Eastern Oklahoma terrain that is interwoven with Turkey Creek. The creek has been coffer dammed to provide beautiful ponds that come into play on many of the holes requiring precise golf shots. The fairways and rough are meticulously maintained with challenging Bermuda grass, ensuring optimal playability throughout the course.
A $2.5 million greens renovation project completed in 2025—masterfully designed by renowned Golf Course Architect Randy Heckenkemper and Conor Cummings, Design Associate —has transformed our putting surfaces with the installation of championship-quality 007 XL Bentgrass. The results are smooth, consistent, and fast-paced greens that elevates every round.
Our clubhouse is fully equipped to host a wide range of golf outings and events, including charity tournaments, corporate events, and private group outings. Players can enjoy access to our top-tier practice facilities, including a practice range featuring an expansive Bermuda grass tee area, a spacious putting green, and a dedicated short game area complete with a sand bunker—perfect for refining every aspect of your game.
Come Visit Us Today & Let the Good Times Roll!
Our History
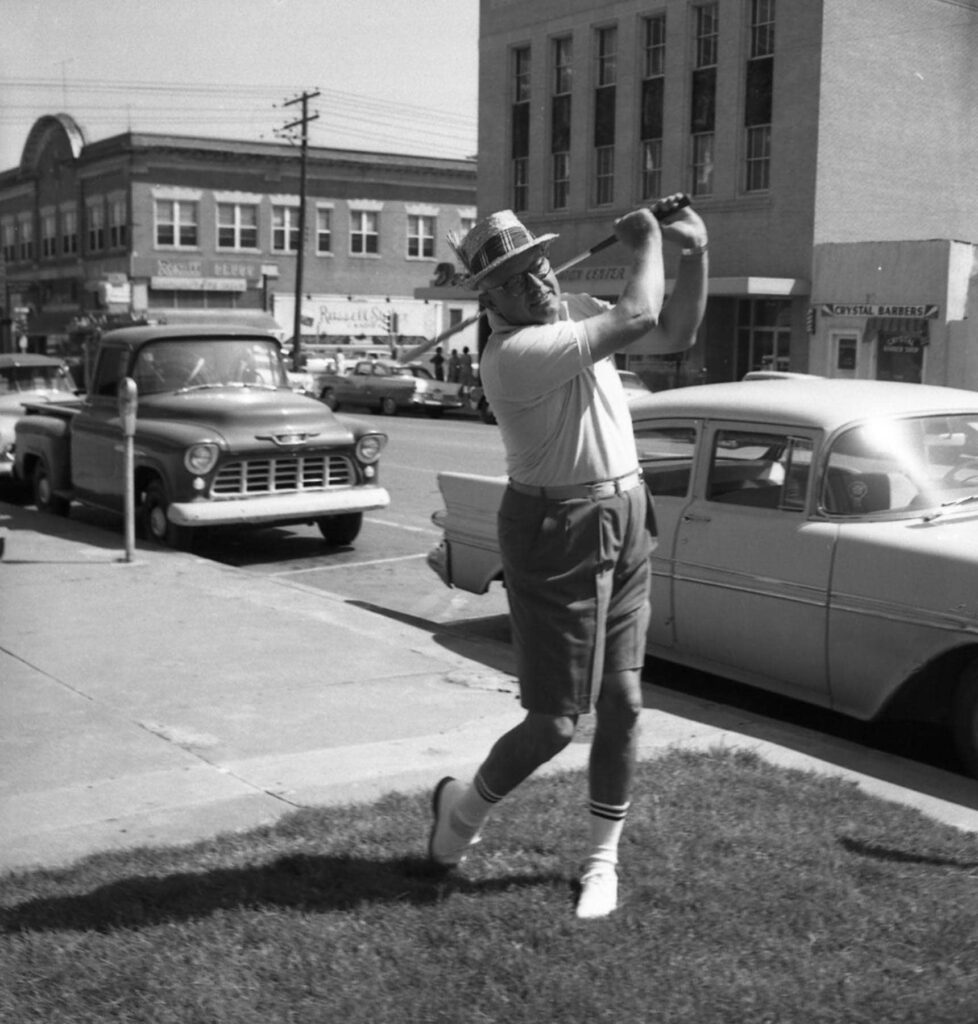
Boots Hollow Golf Club is named in honor of K.S. “Boots” Adams, and the new name is the result of a collaboration between the City of Bartlesville and the Adams family, for whom Adams Golf Course was originally named more than 60 years ago. The Adams family donated land, along with a sizable cash donation, toward the construction of the public golf course briefly known as Sooner Park Golf Course, which was later renamed Adams Municipal Golf Course in recognition of Adams’ generosity.
Photo courtesy of Bartlesville Area History Museum
Hole By Hole
Hole #1
Par Four
This opening hole is a straight away par 4 that rewards a straight tee shot. If you avoid the trees on the left and the two fairway bunkers on the right, a decent medium or short iron should allow for a good approach into the subtle sloped green guarded by two bunkers.
Men’s Handicap: 13
Ladies’ Handicap: 13
Blue Course: 390
White Course: 360
Gold Course: 278
Red Course: 272
Hole #2
Par Five
On this par 5, birdie is a good thought if you can keep the ball in play. The narrow tee shot calls for accuracy; however, the second shot deserves attention also. The water hazard on the right and out of bounds on the left can make people wish they laid up instead of going for this green in two. Be cautious on the approach to avoid a severe putt on this tricky green.
Men’s Handicap: 11
Ladies’ Handicap: 7
Blue Course: 525
White Course: 500
Gold Course: 456
Red Course: 394
Hole #3
Par Three
With any wind, this par 3 can be very challenging. The trees and water on the left guard against a missed approach. Just hope your ball gets caught in the large sand trap on the left before rolling down the hill into the hazard. If you miss the green, miss right because you will still have a good chance at an up and down.
Men’s Handicap: 15
Ladies’ Handicap: 15
Blue Course: 188
White Course: 171
Gold Course: 145
Red Course: 139
Hole #4
Par Four
Hitting into a south wind on this par 4 calls for a strong uphill tee shot. The landing area is small since there are trees on the left and farther up on the right side as well. If you manage to hit the fairway, you are still left with a challenging approach since there is a deep bunker guarding the front-right side of the green.
Men’s Handicap: 9
Ladies’ Handicap: 11
Blue Course: 362
White Course: 350
Gold Course: 332
Red Course: 290
Hole #5
Par Four
While this long par 4 looks downhill, into a south wind it will take two strong shots to get home. Depending on the pin placement, being at the back of this strong back to front sloped green could leave an ugly putt.
Men’s Handicap: 3
Ladies’ Handicap: 1
Blue Course: 422
White Course: 406
Gold Course: 372
Red Course: 369
Hole #6
Par Three
This par 3 is the first hole that heads back to the clubhouse. Similar to hole 3, wind can change your club choice by 2 or 3 clubs. This green is well protected by the two bunkers protecting both sides of the green that has a back shelf that offers a very difficult pin placement. Aim for the center of the green and par is a great score on this hole!
Men’s Handicap: 17
Ladies’ Handicap: 17
Blue Course: 205
White Course: 190
Gold Course: 165
Red Course: 150
Hole #7
Par Four
This shorter par 4 calls for an accurate tee shot. The cluster of trees guarding the right side, and the water punishing a hook left, demand a straight tee shot. Your driver might not be needed on this hole due to a bunker on the left side of the fairway. If you get past these obstacles, you should have a pretty straight away shot at this green with a bunker on each side.
Men’s Handicap: 7
Ladies’ Handicap: 9
Blue Course: 386
White Course: 361
Gold Course: 350
Red Course: 340
Hole #8
Par Five
This lengthy par 5 tests all aspects of the game. An accurate drive is needed to avoid the water and trees that guard both the left and right sides of the fairway. The next shot is key since there is water 100-110 yards in front of the green crossing the fairway. Laying up is safe, but play one club less since the fairway slopes right down to the water. The water hazard with cement block walls either leaves you in the water or out, there’s not much luck involved. If you manage to stay in the fairway, just hit away into this deep, forgiving green.
Men’s Handicap: 1
Ladies’ Handicap: 3
Blue Course: 534
White Course: 506
Gold Course: 350
Red Course: 328
Hole #9
Par Four
This tee box gives a clear view back towards the clubhouse. While this slightly uphill 445-yard par 4 requires two solid golf shots to hit the green in regulation, par is not out of the question. If the trees that line both sides of the fairway don’t cause you any trouble, the approach is straightforward. The green is well guarded by three bunkers and once on the green, two-putting can be a tough job on this two-level surface.
Men’s Handicap: 5
Ladies’ Handicap: 5
Blue Course: 445
White Course: 430
Gold Course: 350
Red Course: 328
Hole #10
Par Four
After leaving the clubhouse, Hole #10 will prove to be one of the most challenging holes on the course. After laying up in front of the water that limits most attempts with a driver, your approach will prove to be one of the more trying shots of the day. With yardage markers saying anywhere from 215-180; this approach will take 2 to 3 clubs more due to the severe uphill shot you face next. Accuracy is just as important as distance because if you miss left, your ball will most likely end up down the hill in the hazard or lost. With any luck, if you miss the green, your ball will slow down in the deep rough. For higher handicappers, bogies are good scores.
Men’s Handicap: 2
Ladies’ Handicap: 2
Blue Course: 407
White Course: 397
Gold Course: 334
Red Course: 331
Hole #11
Par Five
On this short but tight par 5, if you are in a good position after your drive you can begin to think birdie. If laying up, keep in mind that everything slopes left toward the water hazard. Similar to Hole #8, it’s either in or out with the new cement walls. Getting to the green is simple if you keep the ball in play and avoid the bunker that guards the front left side of the green, but you don’t want to be long due to the hazard that comes into play behind the green.
Men’s Handicap: 10
Ladies’ Handicap: 10
Blue Course: 510
White Course: 483
Gold Course: 395
Red Course: 375
Hole #12
Par Three
This par 3 challenges even the best of golfers. For some, this green is very difficult to hit due to the fact it is elevated above the tee box, but this short par 3 also rewards a good shot. This green is sloped from right to left to help the ball feed closer to the center and left pin placements. Use the slope of the green to your advantage.
Men’s Handicap: 18
Ladies’ Handicap: 18
Blue Course: 170
White Course: 155
Gold Course: 143
Red Course: 125
Hole #13
Par Four
While this hole looks straight away and simple, an errant tee shot could create problems on this hole. Avoid the fairway bunker on the right side of the fairway and the water hazard running down the left side of the hole all the way to the green. A good drive will set you up to attack the pin with a short iron approach. Distance control on your approach shot is very important to give yourself a good chance at birdie on the two-tiered sloping green. Any approach shots left short of the top tiered pin placements will roll back to the front of the green.
Men’s Handicap: 8
Ladies’ Handicap: 8
Blue Course: 372
White Course: 347
Gold Course: 308
Red Course: 299
Hole #14
Par Five
This par 5 forgives a poor drive, but a good drive could still lead to a fairway bunker on the right. When choosing a club for this approach shot, remember that this severely downhill approach plays much shorter than the yardage. This severely sloped green is protected by a left front greenside bunker. Right of the green could lead to trouble too. Be aware when putting on this hole; the green is very fast from back to front.
Men’s Handicap: 14
Ladies’ Handicap: 12
Blue Course: 531
White Course: 507
Gold Course: 436
Red Course: 428
Hole #15
Par Four
This par 4 lets you leave your driver in the bag or be aggressive with the driver. Two middle irons might be a safer way to go if you are not hitting the driver well. If you avoid the greenside bunkers and don’t go left, the drastically uphill approach is reasonable. The key to this approach shot is to try to keep the ball below the hole, which is difficult with the uphill green. The shortest of downhill putts have been known to trickle all the way to the fringe if above the hole.
Men’s Handicap: 12
Ladies’ Handicap: 14
Blue Course: 341
White Course: 317
Gold Course: 280
Red Course: 274
Hole #16
Par Three
This intimidating par 3 tests most people’s ability to hit a long iron or hybrid. This approach requires a 100-170 yard carry the water. Short shots will find a murky grave and a walk of shame to the drop area, so use plenty of club for your tee shot. Once on the green, be aware of the severe slope from the back to front of green. If you can, leave the ball below the hole to leave yourself an easier putt.
Men’s Handicap: 16
Ladies’ Handicap: 16
Blue Course: 180
White Course: 155
Gold Course: 125
Red Course: 105
Hole #17
Par Four
While this is a short par 4, an errant drive can make this hole very difficult. The trees protecting the right side of hole and the out of bounds on the left requires a straight drive. Even with a good drive, the approach shot is very difficult with a bunker protecting the front right side of the green. This gives very few opportunities to go for the pin. Distance is everything on your approach shot, and hit to the left side of the green for the safer play.
Men’s Handicap: 4
Ladies’ Handicap: 4
Blue Course: 406
White Course: 392
Gold Course: 374
Red Course: 370
Hole #18
Par Four
This great finishing hole intimidates many. The view from the tee box gives few the confidence needed to drive the creek that lies ahead, approximately 240 yards. Laying up with a hybrid or long iron might be the best bet to avoid a big number. Stay clear of the thick trees guarding the left side of the fairway. Avoid the bunker protecting the front right side of this green on your approach. This large undulating green creates a challenging putt even with the best of approaches.
Men’s Handicap: 6
Ladies’ Handicap: 6
Blue Course: 374
White Course: 343
Gold Course: 325
Red Course: 318